 Skip to content
Driving at night feels stressful when your headlights look dull and barely light up the road. Many car owners face this problem, and it can make even short trips feel unsafe. Cloudy lights do not just make your car look old, they also cut down how far you can see. Fixing them is not hard, and you don’t need to be a mechanic or spend a lot of money.
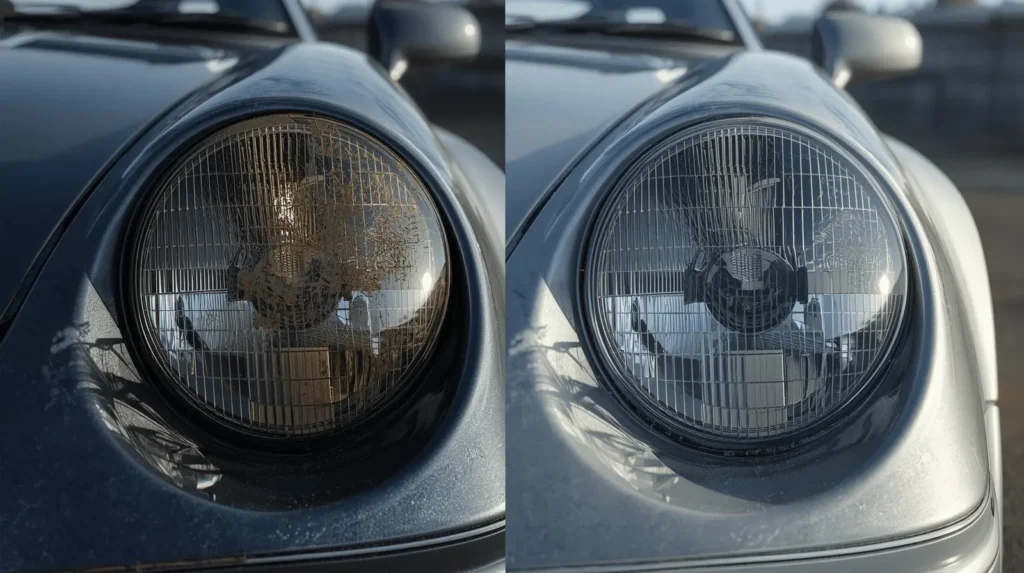
With a few simple steps, you can bring back the shine and make your car look fresh again. In this guide, we will show you how to clean car headlights in a way that is safe, quick, and easy to follow. You will learn why they lose their shine, what tools you need, and the best methods to make them clear again. By the end, you will feel ready to do it yourself and enjoy brighter lights on every drive.
Why Do Car Headlights Become Cloudy or Yellowed?
Most headlights today are made from a strong plastic called polycarbonate. It is tough but not perfect. Here is why they lose their shine:
- Sunlight: The UV rays from the sun slowly damage the outer layer, leaving a yellow film.
- Moisture: Tiny cracks or weak seals let water vapor in, which makes the inside foggy.
- Scratches: Dust, sand, and small stones hit the surface while driving, leaving marks.
- Chemicals: Some soaps or cleaners wear down the protective coating.
When this happens, the light coming out is weaker, and the road looks darker.
What You Need to Clean Car Headlights
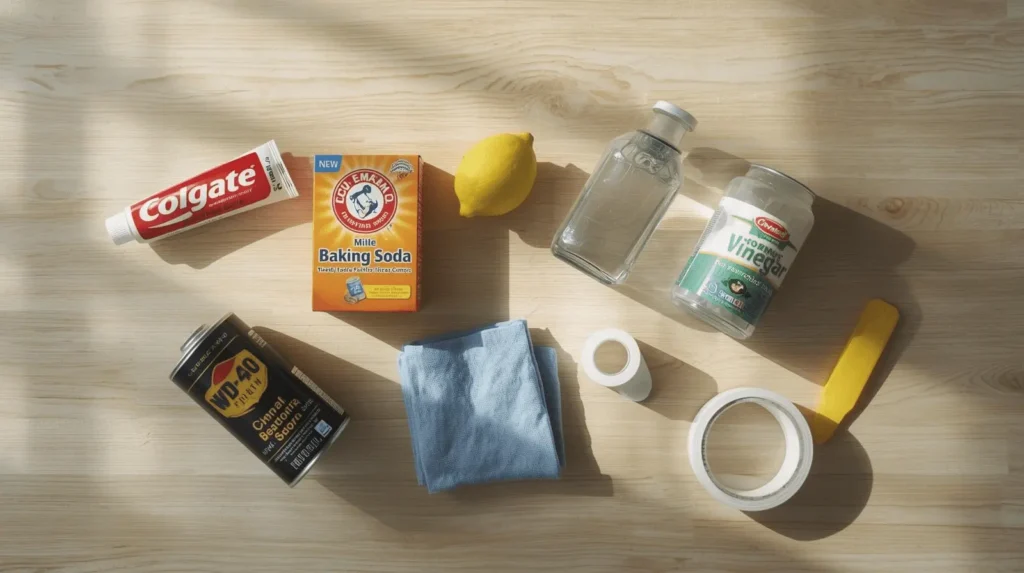
You can use things from your home or buy special products. Both work well, depending on how bad the problem is.
Basic Tools & Household Items
- Toothpaste (plain white, not gel)
- Baking soda and vinegar
- Lemon juice
- WD-40 or rubbing alcohol
- Microfiber cloths
- Painter tape to protect the paint around the light
Professional Products
- Headlight restoration kits (brands like Meguiar’s, Sylvania, Rain-X, Turtle Wax, NuLens, Griot’s Garage)
- Plastic polish or p21s polishing soap
- Sandpaper (different grits, usually included in kits)
- UV sealant or ceramic coating to protect after cleaning
Step-by-Step Guide to Cleaning Car Headlights
Here is a simple process you can follow at home.
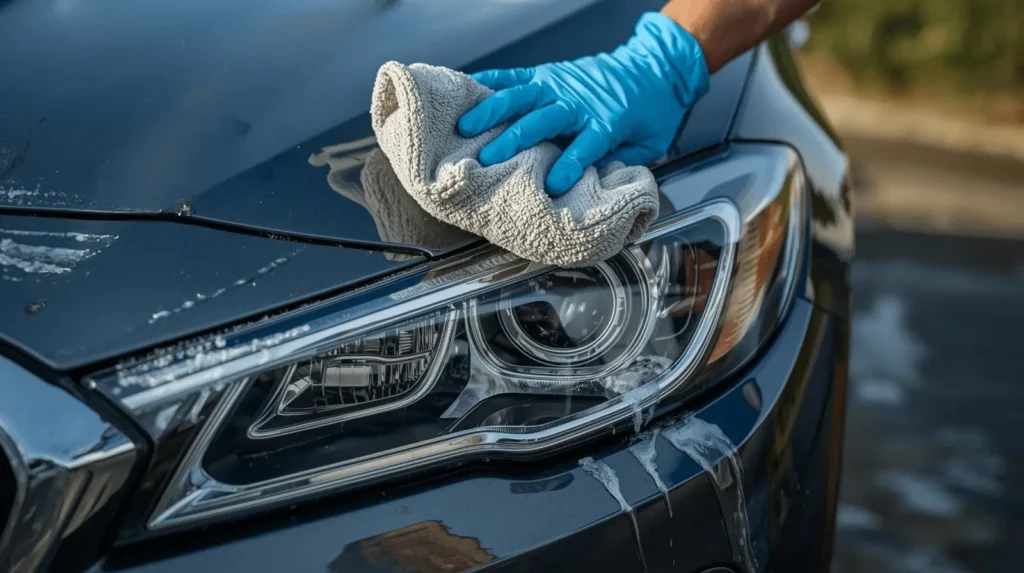
Step 1: Clean the Surface of Debris
- Wash the lens with car soap and water.
- Dry it with a microfiber towel.
- Use painter tape to cover the edges so you do not scratch the paint.
Step 2: Apply Cleaner (DIY or Professional)
- Pick your method: toothpaste, baking soda paste, or a restoration kit.
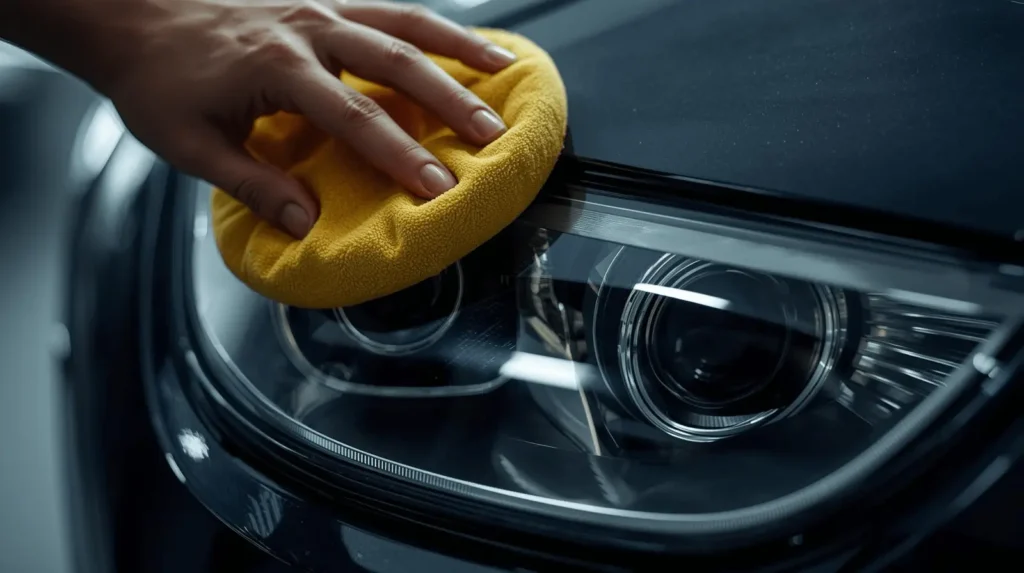
- Rub the cleaner in small circles with a cloth.
- If using a kit, follow the instructions carefully.
Step 3: Polish and Buff for Clarity
- Wipe away the cleaner with a clean towel.
- If sanding, start with coarse grit and move to finer ones.
- Finish with polish to smooth the surface.
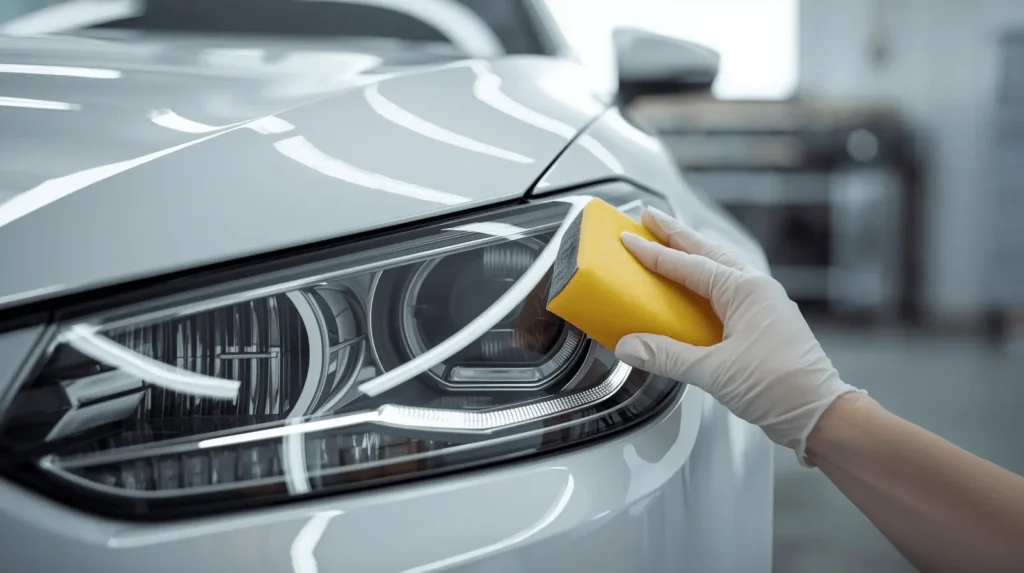
Step 4: Seal and Protect
- Apply wax, UV sealant, or ceramic coating.
- This step keeps the lens clear for longer.
DIY Hacks for Cleaning Car Headlights
If you do not want to buy a kit, try these easy home tricks.
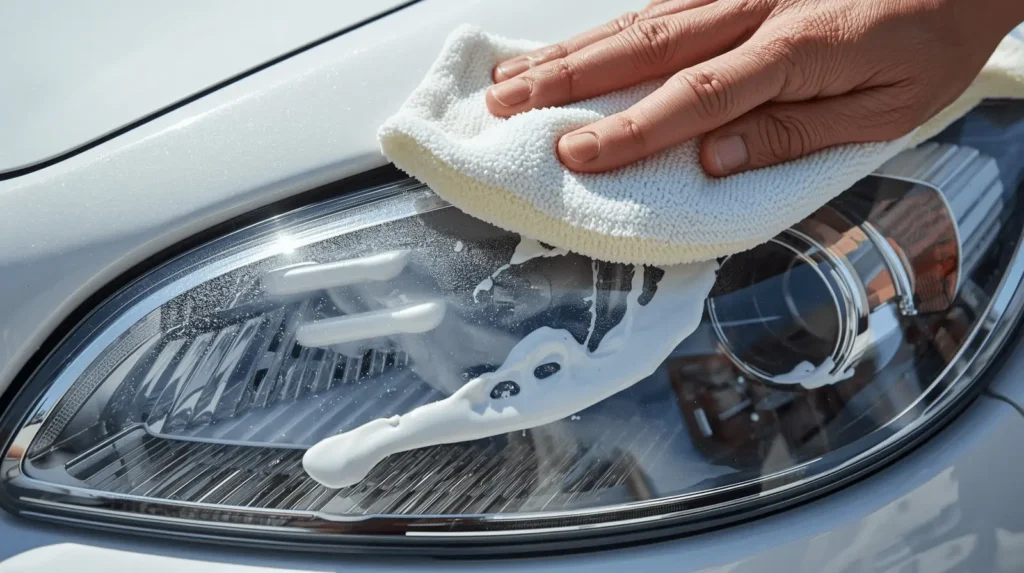
Toothpaste Method
Toothpaste has tiny cleaning grains that scrub away the yellow layer. Put a small amount on a cloth, rub in circles, and rinse. Works best for light haze.
Baking Soda & Vinegar
Mix into a paste and spread over the lens. Let it sit for a few minutes, scrub gently, then rinse. Good for moderate yellowing.
Lemon Juice & Baking Soda
The acid in lemon juice makes baking soda stronger. This mix is safe and natural.
WD-40 Quick Fix
Spray lightly and wipe. It gives instant clarity but only lasts a short time. Use if you need a fast result before a drive.
Sandpaper & Polish
For very cloudy lenses, wet-sand with fine-grit paper, then polish. This removes deeper damage but takes more time and care.
Tips and Tricks for a Professional Finish
- Work in the shade, not under direct sunlight.
- Use microfiber cloths instead of paper towels.
- Apply even pressure when rubbing or sanding.
- Always seal the lens after cleaning.
Common Mistakes to Avoid
- Skipping protection: Without a sealant, the lens will turn cloudy again quickly.
- Using harsh tools: Steel wool or aluminum foil can scratch the surface.
- Over-sanding: Removing too much plastic weakens the lens.
- Wrong chemicals: Bleach or ammonia can damage the material.
Restore Headlights at Home vs Professional Restoration
When DIY Is Enough
- Light haze or yellowing
- You already have household items
- You want a quick, low-cost solution
When to Seek Professional Help
- Severe cloudiness or cracks
- Moisture trapped inside the lens
- You want a long-lasting, polished finish
Cost Comparison
- DIY remedies: almost free
- Kits: $15-$30
- Professional service: $80-$150
How to Keep Your Headlights Clear Longer
- Regular cleaning: Wipe lenses during car washes.
- UV protection: Apply wax or ceramic coating every few months.
- Parking tips: Use a garage or shaded spot to reduce sun damage.
- Check seals: Make sure water is not getting inside.
Can oxidation be removed from headlights?
Yes, you can remove oxidation from headlights. Use a headlight restoration kit or a gentle cleaner like toothpaste or baking soda paste to scrub away the cloudy layer. For a lasting fix, apply a clear sealant after cleaning to protect the surface and keep the lights clear longer.
Can I use vinegar to clean headlights?
Yes, vinegar can help clean foggy headlights. Mix it with baking soda to make a paste that removes dirt and grime easily. Wipe it on, gently scrub, then rinse and dry for a clearer look.
What is the best thing for cleaning car headlights?
The best way is to use a headlight restoration kit or a home mix of toothpaste or baking soda paste. Spread it on the headlight, rub gently in circles, then rinse and dry. This helps remove fog, dirt, and yellowing to make your lights shine bright again.
